Clearing Overgrown Land Is Usually the First Step, Not the Whole Project Overgrown land can make a property feel unusable. Brush, trees, undergrowth, debris, old material, and blocked access can make it hard to walk the site, understand the slope, see drainage issues, or plan what should happen next. For property owners around Rogers and Northwest Arkansas, land clearing is often the first move toward a bigger goal. That goal might be building a driveway, preparing a shop site, cleaning up acreage, improving drainage, creating access, selling the property, or making the land easier to maintain. Before clearing begins, it helps to think through what the property should be ready for after the brush and trees are gone. Land Clearing Can Include More Than Cutting Brush Land clearing can mean different things depending on the property. Some jobs are mostly brush and undergrowth. Others involve trees, debris, fence lines, old material, access routes, rough acreage, or future building areas. A clearing project may involve: Brush and undergrowth removal Tree clearing or selective clearing Lot clearing or acreage cleanup Fence line, easement, or driveway path clearing Opening access for equipment and vehicles Clearing around future building pads or work areas Removing brush piles, debris, or unwanted material Preparing the property for grading, drainage, hauling, driveways, or site prep The important thing is to match the clearing plan to the future use of the land. Clearing for a driveway route is different from clearing for a shop pad, pond access, pasture cleanup, commercial prep, or full site development. What Happens After Clearing Is Just as Important Clearing the land gives you visibility and access, but it may also reveal the real work that needs to happen next. Once the overgrowth is removed, you may find: Low spots that hold water Soft or muddy ground Old debris, concrete, asphalt, or dumped material Uneven grade or rough terrain Washed-out areas or erosion No reliable driveway or equipment access Areas that need hauling, grading, drainage, or base material This is why clearing should be planned with the next phase in mind. A property may look better after clearing, but it may not be truly usable until the access, drainage, grade, and cleanup are handled. Questions to Ask Before Clearing Overgrown Land Before clearing begins, consider what the land needs to support after the cleanup. What areas actually need to be cleared? You may not need to clear everything. The priority might be a driveway route, building area, fence line, drainage path, equipment access route, pond edge, or usable yard area. What will the property be used for next? A future shop site, house site, garage, barn, metal building, driveway, concrete slab, asphalt access, pasture area, or commercial lot may each require a different clearing approach. Is there access for equipment? Overgrown land often blocks the first practical step: getting equipment to the work area. Access may need to be opened before the main clearing, grading, or hauling work can happen. What debris or old material is on the property? Brush and trees are one thing. Old concrete, asphalt, junk piles, abandoned structures, fencing, rock, or dumped material can change the scope of the cleanup. How does water move across the land? Overgrowth can hide drainage problems. After clearing, water paths, low areas, washouts, ditches, culverts, and soft ground may become easier to see. Will the site need grading or hauling after clearing? Clearing may leave behind uneven areas, stumps, brush piles, spoils, or material that needs to be hauled, spread, removed, or graded before the land is truly usable. Common Mistakes When Clearing Raw or Overgrown Property Land clearing is a lot more useful when it is part of a bigger plan. Problems can happen when the clearing work is done without thinking about what comes next. Common mistakes include: Clearing random areas instead of the areas needed for access or future use Removing brush but leaving debris, stumps, or old material in the way Ignoring drainage problems until after a driveway or pad is started Clearing a building area without planning driveway access first Assuming the land is ready for concrete, asphalt, or a building pad immediately after clearing Forgetting hauling and cleanup in the project scope Clearing too much without considering erosion, slope, or runoff Waiting to think about grading until after equipment has already left A better approach starts with the property goal and clears the areas that support that goal. A Practical Order for Clearing Overgrown Land A land clearing project does not have to be complicated, but it should have a logical order. Step 1: Define the end goal Decide whether the land needs to become a driveway route, building site, cleaned acreage, drainage area, pad location, concrete/asphalt surface, or general usable property. Step 2: Identify access first Determine how equipment, trucks, materials, and future work will reach the site. Step 3: Clear the priority areas Focus on the spaces needed for access, visibility, future work, drainage, or property use. Step 4: Handle debris and material Plan for brush, logs, spoils, old concrete, asphalt, junk, or unwanted material that may need to be hauled or cleaned up. Step 5: Review drainage and grade after clearing Once the site is open, look for low areas, washouts, soft ground, runoff paths, and slope problems. Step 6: Plan the next dirt work step The next phase may be grading, excavation, drainage, driveway access, building pad prep, concrete, asphalt, hauling, or full site prep. This order helps turn clearing into the beginning of a usable property plan instead of a one-time cleanup that leaves the next steps unclear.
Clearing the Brush Is Not Always the Finish Line Land clearing is a major step, but it is often only the first step in making property usable. Once brush, trees, undergrowth, and debris are removed, the site may still need access, grading, drainage, hauling, pad work, concrete, asphalt, or additional dirt work before it is ready for the next use. For property owners around Rogers and Northwest Arkansas, this distinction matters. A cleared property may look better right away, but it may not be ready for a driveway, shop, house, garage, barn, metal building, parking area, concrete slab, asphalt surface, or regular access until site prep is addressed. Understanding the difference between land clearing and site prep can help you plan the right next step. Land Clearing Opens the Site. Site Prep Gets It Ready to Use. Land clearing usually focuses on removing what is blocking the land. Site prep focuses on shaping and preparing the land for its next purpose. Land clearing may include: Brush removal Tree and undergrowth clearing Lot or acreage clearing Fence line or easement clearing Opening access paths Removing overgrowth from future work areas Basic cleanup and debris handling Site prep may include: Excavation and cut/fill work Rough grading and finish grading Drainage correction and water-flow planning Culverts, ditches, swales, or drainage paths Driveway, road, or construction entrance prep Building pads, base prep, and compaction Concrete or asphalt surface preparation Utility trenching, septic prep, or drainage line trenching Utility trenching, septic prep, or drainage line trenching A property can be cleared but still not site-ready. The difference is whether the land is simply opened up or actually prepared for the next phase. The Next Step After Clearing Depends on the Goal What happens after clearing should depend on what the property needs to become. If the goal is simple cleanup, the next step may be hauling brush and debris. If the goal is a driveway, the next step may be access grading, base material, and drainage. If the goal is a building pad, the site may need excavation, grading, drainage, compaction, and concrete. If the goal is commercial prep, the site may need parking area grading, base prep, asphalt or concrete planning, hauling, and stormwater control. This is why it is risky to treat land clearing as a standalone finish when the property has a larger purpose. Clearing can reveal the site conditions, but site prep is what helps the land support traffic, structures, surfaces, and drainage. What to Look for After the Land Is Cleared Once the brush is gone, the property usually becomes easier to evaluate. This is the time to look for conditions that may affect the next phase. Is there reliable access? A cleared area still may not have a usable driveway, road, equipment route, or construction entrance. Access may need grading, rock, gravel, culverts, concrete, asphalt, or base material. Does water collect anywhere? Low areas, soft ground, ditches, runoff paths, and washouts are easier to see after clearing. These should be considered before driveways, pads, concrete, asphalt, or building work begins. Is the land level enough for the intended use? A cleared site may still be too rough, uneven, sloped, or unstable for a structure, driveway, parking area, or surface. Is there debris or material that needs to be hauled? Brush piles, stumps, old concrete, asphalt, junk, spoils, or leftover material may need to be removed before site prep can continue. Is the soil or base ready for a surface? Concrete, asphalt, gravel, and building pads depend on proper subgrade, base, compaction, and drainage. A cleared area is not automatically ready for a finished surface. Are utilities or septic part of the future plan? Trenching for utilities, septic, or drainage lines should be planned before final grade, concrete, asphalt, or finished driveway work whenever possible. Common Mistakes After Land Clearing The biggest mistake is assuming that cleared land is automatically usable land. Clearing improves visibility and access, but it does not always solve the issues underneath or around the site. Common mistakes include: Clearing brush without planning the driveway or access route Leaving debris, stumps, brush piles, or old material behindold material behind Starting pad work without checking drainage and slope Spreading gravel before grading or culverts are addressed Pouring concrete or installing asphalt before base and water flow are ready Ignoring soft ground or low spots after clearing Waiting too long to plan utility, septic, or drainage trenching Treating clearing, grading, drainage, hauling, and surface work as separate decisions A better approach is to clear with the next phase in mind. A Practical Sequence After Brush Clearing Once clearing is complete, the next steps should be based on what the property needs to support. Step 1: Walk or review the cleared area Look for slope, low spots, debris, wet areas, rough ground, and access issues that were hidden by overgrowth. Step 2: Decide what the property needs to become The next step is different for a driveway, shop pad, house site, barn, parking area, concrete slab, asphalt surface, pond, or general cleanup. Step 3: Address access and drainage early Driveways, roads, pads, concrete, asphalt, and building areas all perform better when water and access are planned before final work. Step 4: Handle grading and material movement The land may need cut/fill, leveling, base material, compaction, hauling, spreading, or cleanup. Step 5: Plan underground work before finished surfaces Utility trenching, septic prep, and drainage lines should be considered before concrete, asphalt, or final grading. Step 6: Prepare the site for the finished use The final phase may include driveways, pads, concrete, asphalt, gravel, building prep, parking areas, or a cleaner usable property. This sequence helps turn a cleared area into a functional site.
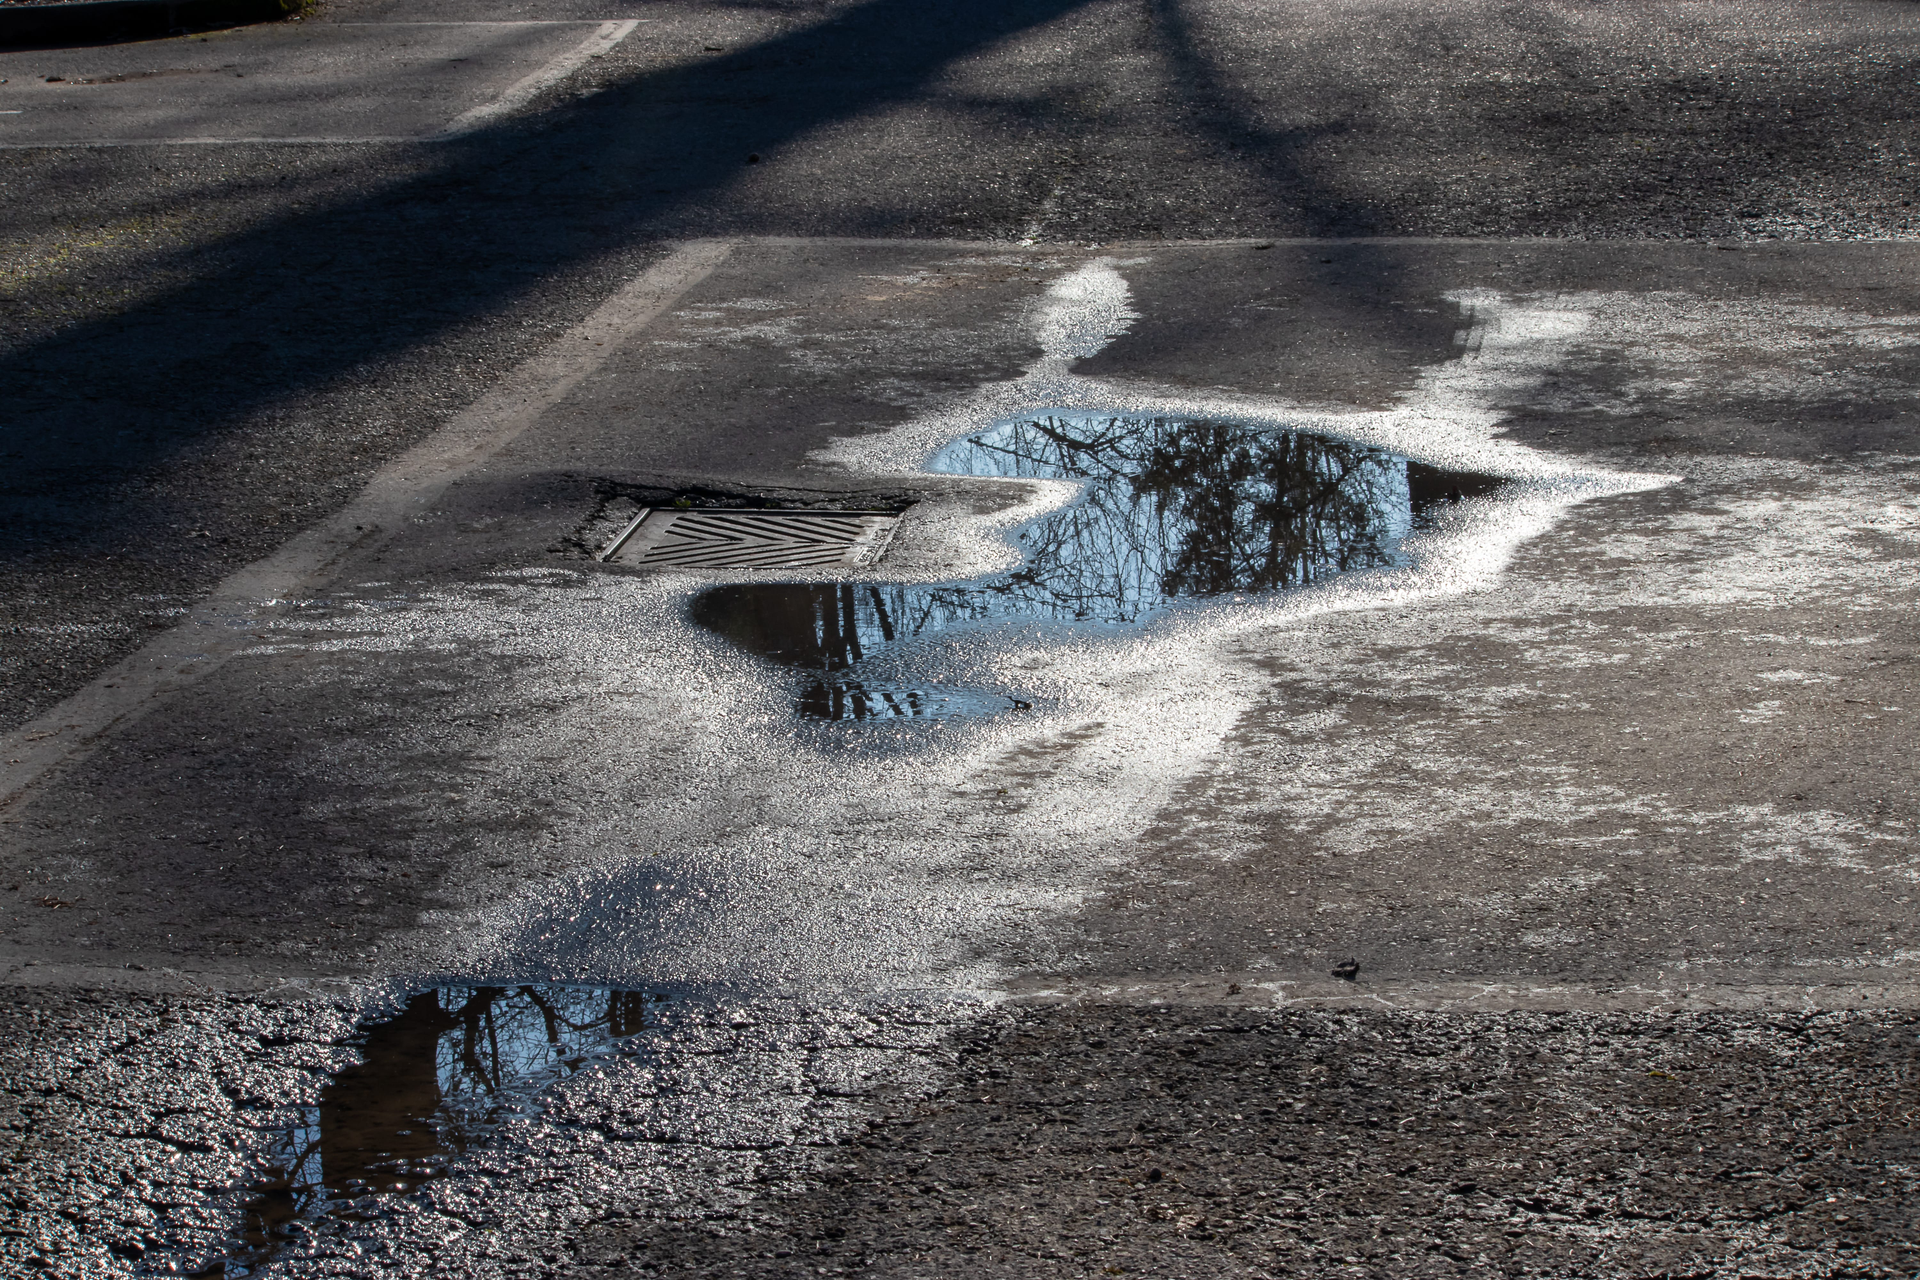
A Washed-Out Driveway Is Usually a Water Problem First When a driveway washes out, the first thought is often to add more gravel, patch the rut, or smooth the surface. That may help temporarily, but if water is still crossing the driveway, saturating the base, or cutting the edges, the same damage can come back after the next heavy rain. For property owners around Rogers and Northwest Arkansas, driveway washouts are common on sloped land, rural properties, long access routes, gravel roads, construction entrances, and driveways without proper culverts or ditching. The surface damage is easy to see. The drainage issue underneath is what usually needs to be understood before the driveway can hold up better. Driveway Washouts Happen When Water Has the Wrong Path A driveway is supposed to provide access. Water is supposed to move away from that access. When those two paths conflict, the driveway often loses. Driveway washouts can happen when water: Runs across the driveway instead of under it Flows down the tire paths Collects in low spots Saturates the base material Cuts the driveway edges Overflows a clogged or undersized culvert Escapes a ditch or swale Runs too fast down a steep route Has no stable outlet The driveway surface may be gravel, concrete, asphalt, or a mix of materials. The cause is often the same: water is not being controlled before it reaches or crosses the access route. Repeated Washouts Can Damage the Whole Access Route A washout is not only a surface problem. Over time, repeated runoff can remove base material, create ruts, soften the subgrade, expose rocks, damage edges, and make the driveway harder to maintain. Repeated driveway washouts may lead to: Gravel loss after every rain Deep ruts or channels in the driveway Muddy or soft access areas Potholes and uneven surface conditions Erosion along the driveway edges Culvert overflow or ditch failure Concrete or asphalt edge damage Difficult access for trucks, trailers, equipment, or daily vehicles If the driveway is also needed for a shop, house, garage, barn, metal building, commercial property, or construction site, poor access can affect the entire project. Why the Driveway Keeps Washing Out Driveway washouts often come from one or more drainage issues working together. Water is crossing the driveway If runoff crosses over the driveway surface, it can carry gravel and base material with it. A culvert, ditch, or grading correction may be needed to move water under or around the route. The driveway is too flat in the wrong places Flat areas can hold water, especially if the surface has settled or the base is weak. Standing water can soften the driveway and create ruts. The driveway is too steep without water control Steep routes can send water downhill with enough force to cut channels into gravel, shoulders, and ditches. The ditches are not working Ditches may be too shallow, clogged, eroded, or graded the wrong direction. When ditches fail, water often finds the driveway instead. The culvert is missing, clogged, crushed, or undersized A culvert only works if water can enter, pass through, and exit properly. If it cannot, water may back up and cross the driveway. The base is too weak or saturated If water gets into the base and cannot drain, the driveway may rut, pump, settle, or lose material under traffic. The edges are not protected Water running along the edge can cut away support and cause the driveway to narrow, crumble, or collapse at the sides. Common Mistakes When Fixing Driveway Washouts Driveway washouts often return when the repair focuses only on replacing lost material. Common mistakes include: Adding gravel without correcting runoff Filling ruts without reshaping the grade Ignoring water flowing across the driveway Installing a culvert without checking the inlet and outlet Leaving ditches clogged or too shallow Building the driveway flat with no crown or drainage slope Patching asphalt or concrete before base and drainage issues are fixed Ignoring soft ground under the surface Treating the washout as a one-time storm issue instead of a drainage pattern A better repair looks at why the water damaged the driveway in the first place. A Practical Way to Approach a Driveway Washout Before repairing the surface, it helps to understand the water path. Step 1: Watch where the water comes from Identify where water crosses, collects, flows downhill, or cuts into the surface. Step 2: Check the ditches and edges See whether water has a clear route beside the driveway or whether it is using the driveway as the drainage path. Step 3: Inspect any culverts Look for blockages, crushed sections, poor alignment, erosion at the outlet, or water backing up at the inlet. Step 4: Review the grade The driveway may need reshaping, crowning, slope correction, or low-spot correction before new material is added. Step 5: Evaluate the base Soft, saturated, or unstable areas may need excavation, base correction, rock, compaction, or drainage work. Step 6: Choose the repair or surface after drainage is addressed Gravel, asphalt, and concrete can all perform better when the drainage and base are corrected first. This approach helps the driveway repair become more than a temporary patch.
Land Clearing & Property Cleanup
Drainage, Culverts & Water Problems
Driveways, Roads & Access
Building Pads, Concrete, Asphalt & Site Prep
Commercial & Full-Scope Dirt Work
Clearing Overgrown Land Is Usually the First Step, Not the Whole Project Overgrown land can make a property feel unusable. Brush, trees, undergrowth, debris, old material, and blocked access can make it hard to walk the site, understand the slope, see drainage issues, or plan what should happen next. For property owners around Rogers and Northwest Arkansas, land clearing is often the first move toward a bigger goal. That goal might be building a driveway, preparing a shop site, cleaning up acreage, improving drainage, creating access, selling the property, or making the land easier to maintain. Before clearing begins, it helps to think through what the property should be ready for after the brush and trees are gone. Land Clearing Can Include More Than Cutting Brush Land clearing can mean different things depending on the property. Some jobs are mostly brush and undergrowth. Others involve trees, debris, fence lines, old material, access routes, rough acreage, or future building areas. A clearing project may involve: Brush and undergrowth removal Tree clearing or selective clearing Lot clearing or acreage cleanup Fence line, easement, or driveway path clearing Opening access for equipment and vehicles Clearing around future building pads or work areas Removing brush piles, debris, or unwanted material Preparing the property for grading, drainage, hauling, driveways, or site prep The important thing is to match the clearing plan to the future use of the land. Clearing for a driveway route is different from clearing for a shop pad, pond access, pasture cleanup, commercial prep, or full site development. What Happens After Clearing Is Just as Important Clearing the land gives you visibility and access, but it may also reveal the real work that needs to happen next. Once the overgrowth is removed, you may find: Low spots that hold water Soft or muddy ground Old debris, concrete, asphalt, or dumped material Uneven grade or rough terrain Washed-out areas or erosion No reliable driveway or equipment access Areas that need hauling, grading, drainage, or base material This is why clearing should be planned with the next phase in mind. A property may look better after clearing, but it may not be truly usable until the access, drainage, grade, and cleanup are handled. Questions to Ask Before Clearing Overgrown Land Before clearing begins, consider what the land needs to support after the cleanup. What areas actually need to be cleared? You may not need to clear everything. The priority might be a driveway route, building area, fence line, drainage path, equipment access route, pond edge, or usable yard area. What will the property be used for next? A future shop site, house site, garage, barn, metal building, driveway, concrete slab, asphalt access, pasture area, or commercial lot may each require a different clearing approach. Is there access for equipment? Overgrown land often blocks the first practical step: getting equipment to the work area. Access may need to be opened before the main clearing, grading, or hauling work can happen. What debris or old material is on the property? Brush and trees are one thing. Old concrete, asphalt, junk piles, abandoned structures, fencing, rock, or dumped material can change the scope of the cleanup. How does water move across the land? Overgrowth can hide drainage problems. After clearing, water paths, low areas, washouts, ditches, culverts, and soft ground may become easier to see. Will the site need grading or hauling after clearing? Clearing may leave behind uneven areas, stumps, brush piles, spoils, or material that needs to be hauled, spread, removed, or graded before the land is truly usable. Common Mistakes When Clearing Raw or Overgrown Property Land clearing is a lot more useful when it is part of a bigger plan. Problems can happen when the clearing work is done without thinking about what comes next. Common mistakes include: Clearing random areas instead of the areas needed for access or future use Removing brush but leaving debris, stumps, or old material in the way Ignoring drainage problems until after a driveway or pad is started Clearing a building area without planning driveway access first Assuming the land is ready for concrete, asphalt, or a building pad immediately after clearing Forgetting hauling and cleanup in the project scope Clearing too much without considering erosion, slope, or runoff Waiting to think about grading until after equipment has already left A better approach starts with the property goal and clears the areas that support that goal. A Practical Order for Clearing Overgrown Land A land clearing project does not have to be complicated, but it should have a logical order. Step 1: Define the end goal Decide whether the land needs to become a driveway route, building site, cleaned acreage, drainage area, pad location, concrete/asphalt surface, or general usable property. Step 2: Identify access first Determine how equipment, trucks, materials, and future work will reach the site. Step 3: Clear the priority areas Focus on the spaces needed for access, visibility, future work, drainage, or property use. Step 4: Handle debris and material Plan for brush, logs, spoils, old concrete, asphalt, junk, or unwanted material that may need to be hauled or cleaned up. Step 5: Review drainage and grade after clearing Once the site is open, look for low areas, washouts, soft ground, runoff paths, and slope problems. Step 6: Plan the next dirt work step The next phase may be grading, excavation, drainage, driveway access, building pad prep, concrete, asphalt, hauling, or full site prep. This order helps turn clearing into the beginning of a usable property plan instead of a one-time cleanup that leaves the next steps unclear.
Clearing the Brush Is Not Always the Finish Line Land clearing is a major step, but it is often only the first step in making property usable. Once brush, trees, undergrowth, and debris are removed, the site may still need access, grading, drainage, hauling, pad work, concrete, asphalt, or additional dirt work before it is ready for the next use. For property owners around Rogers and Northwest Arkansas, this distinction matters. A cleared property may look better right away, but it may not be ready for a driveway, shop, house, garage, barn, metal building, parking area, concrete slab, asphalt surface, or regular access until site prep is addressed. Understanding the difference between land clearing and site prep can help you plan the right next step. Land Clearing Opens the Site. Site Prep Gets It Ready to Use. Land clearing usually focuses on removing what is blocking the land. Site prep focuses on shaping and preparing the land for its next purpose. Land clearing may include: Brush removal Tree and undergrowth clearing Lot or acreage clearing Fence line or easement clearing Opening access paths Removing overgrowth from future work areas Basic cleanup and debris handling Site prep may include: Excavation and cut/fill work Rough grading and finish grading Drainage correction and water-flow planning Culverts, ditches, swales, or drainage paths Driveway, road, or construction entrance prep Building pads, base prep, and compaction Concrete or asphalt surface preparation Utility trenching, septic prep, or drainage line trenching Utility trenching, septic prep, or drainage line trenching A property can be cleared but still not site-ready. The difference is whether the land is simply opened up or actually prepared for the next phase. The Next Step After Clearing Depends on the Goal What happens after clearing should depend on what the property needs to become. If the goal is simple cleanup, the next step may be hauling brush and debris. If the goal is a driveway, the next step may be access grading, base material, and drainage. If the goal is a building pad, the site may need excavation, grading, drainage, compaction, and concrete. If the goal is commercial prep, the site may need parking area grading, base prep, asphalt or concrete planning, hauling, and stormwater control. This is why it is risky to treat land clearing as a standalone finish when the property has a larger purpose. Clearing can reveal the site conditions, but site prep is what helps the land support traffic, structures, surfaces, and drainage. What to Look for After the Land Is Cleared Once the brush is gone, the property usually becomes easier to evaluate. This is the time to look for conditions that may affect the next phase. Is there reliable access? A cleared area still may not have a usable driveway, road, equipment route, or construction entrance. Access may need grading, rock, gravel, culverts, concrete, asphalt, or base material. Does water collect anywhere? Low areas, soft ground, ditches, runoff paths, and washouts are easier to see after clearing. These should be considered before driveways, pads, concrete, asphalt, or building work begins. Is the land level enough for the intended use? A cleared site may still be too rough, uneven, sloped, or unstable for a structure, driveway, parking area, or surface. Is there debris or material that needs to be hauled? Brush piles, stumps, old concrete, asphalt, junk, spoils, or leftover material may need to be removed before site prep can continue. Is the soil or base ready for a surface? Concrete, asphalt, gravel, and building pads depend on proper subgrade, base, compaction, and drainage. A cleared area is not automatically ready for a finished surface. Are utilities or septic part of the future plan? Trenching for utilities, septic, or drainage lines should be planned before final grade, concrete, asphalt, or finished driveway work whenever possible. Common Mistakes After Land Clearing The biggest mistake is assuming that cleared land is automatically usable land. Clearing improves visibility and access, but it does not always solve the issues underneath or around the site. Common mistakes include: Clearing brush without planning the driveway or access route Leaving debris, stumps, brush piles, or old material behindold material behind Starting pad work without checking drainage and slope Spreading gravel before grading or culverts are addressed Pouring concrete or installing asphalt before base and water flow are ready Ignoring soft ground or low spots after clearing Waiting too long to plan utility, septic, or drainage trenching Treating clearing, grading, drainage, hauling, and surface work as separate decisions A better approach is to clear with the next phase in mind. A Practical Sequence After Brush Clearing Once clearing is complete, the next steps should be based on what the property needs to support. Step 1: Walk or review the cleared area Look for slope, low spots, debris, wet areas, rough ground, and access issues that were hidden by overgrowth. Step 2: Decide what the property needs to become The next step is different for a driveway, shop pad, house site, barn, parking area, concrete slab, asphalt surface, pond, or general cleanup. Step 3: Address access and drainage early Driveways, roads, pads, concrete, asphalt, and building areas all perform better when water and access are planned before final work. Step 4: Handle grading and material movement The land may need cut/fill, leveling, base material, compaction, hauling, spreading, or cleanup. Step 5: Plan underground work before finished surfaces Utility trenching, septic prep, and drainage lines should be considered before concrete, asphalt, or final grading. Step 6: Prepare the site for the finished use The final phase may include driveways, pads, concrete, asphalt, gravel, building prep, parking areas, or a cleaner usable property. This sequence helps turn a cleared area into a functional site.